In today’s world of luxury, people love to use jeeps for their off-road tours. As we know off-roading is getting popular and more enjoyable these days.
People used to go to sand, dirt, gravel, riverbeds, mud, snow, rocks, or other natural terrain to make their tour more exciting. But it also requires high skill in driving along with a good off-road vehicle.
But sometimes some jeeps have some technical problems. That may be the concern for you but no problem you are at the right place for your solution.
I’m a professional mechanic here to help you to fix your jeep problem.

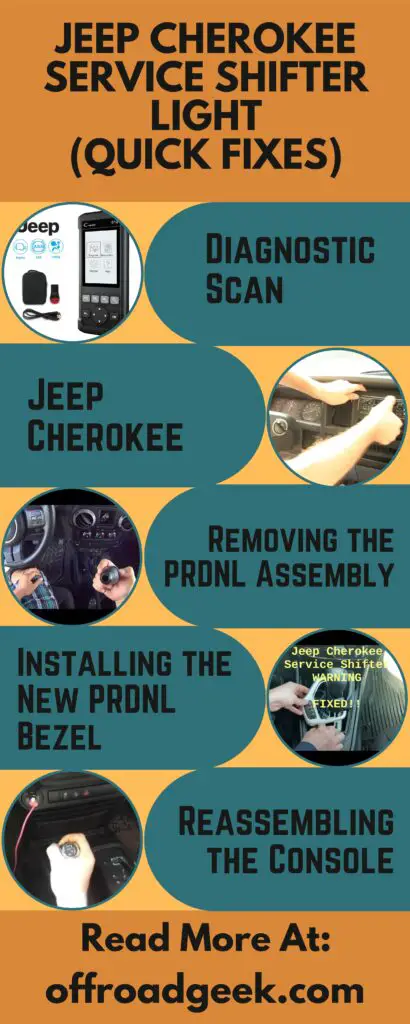
Here are the steps to fix your Jeep problem:
- Diagnostic Scan
- Accessing the Shifter Bezel
- Disconnecting the Bezel
- Removing the PRDNL Assembly
- Preparing the New Components
- Installing the New PRDNL Bezel
- Reassembling the Console

A Comprehensive Guide
If you own a 2015-2018 Jeep Cherokee, you may encounter a common issue indicated by a “service shifter” message on your dashboard. This is a very common problem amongst the users of Jeep Cherokee.
This can be accompanied by error codes U1465 and P1C86-1D, which point to problems with the PRDNL bezel.
In this article, we will provide a detailed, step-by-step guide to replacing the shifter PRDNL bezel, helping you save time and money.
Understanding the PRDNL System

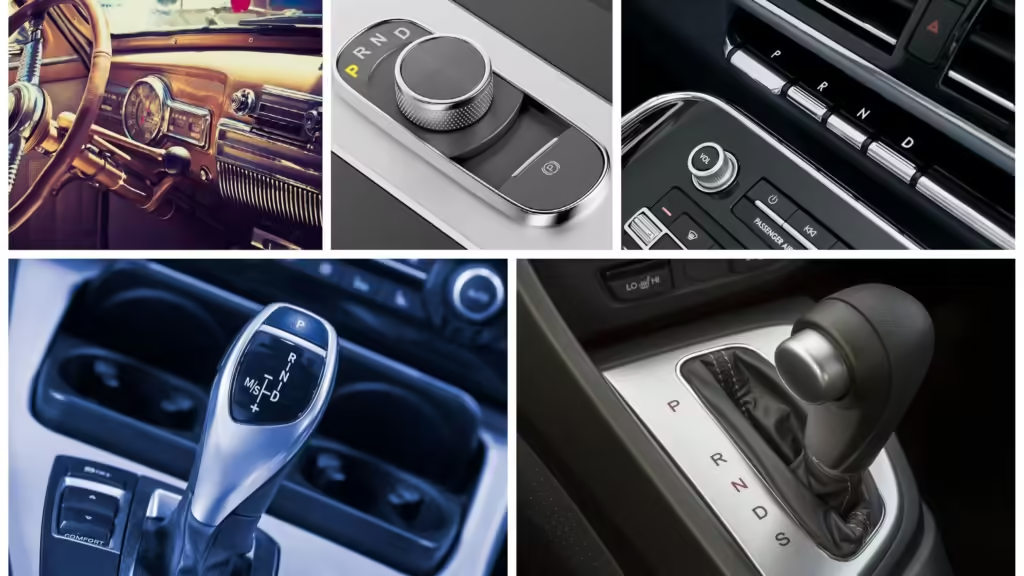
First of all you have to understand the PRDNL system to fix this problem. The term PRDNL stands for Park, Reverse, Neutral, Drive, and Low. This system is vital for any automatic vehicle, as it indicates the current gear selection.
The shifter bezel houses the indicators for these positions and is crucial for the proper functioning of the vehicle’s transmission system.
When you receive the “service shifter” message, it is essential to check for the specific error codes.
The codes U1465 and P1C86-1D suggest that there is an issue with the driver shift request signal and the PRNDL display circuit, respectively. Understanding these codes will help you diagnose the problem effectively.
Tools and Materials Needed

Before starting the replacement process, these are the necessary tools and materials to fix this problem:
- Plastic trim removal tool
- Socket set
- New PRDNL bezel
- New jumper harness (if required)
- Safety gloves
- Chalk (to prevent vehicle roll)
Here is a Step-by-Step Replacement Process
We are going to discuss the step-by-step process in detail to make it easy for you. Now if you have all your tools and materials, let’s dive into the replacement process.
This guide will focus on a quicker method that does not require removing the entire center console.
1. Diagnostic Scan
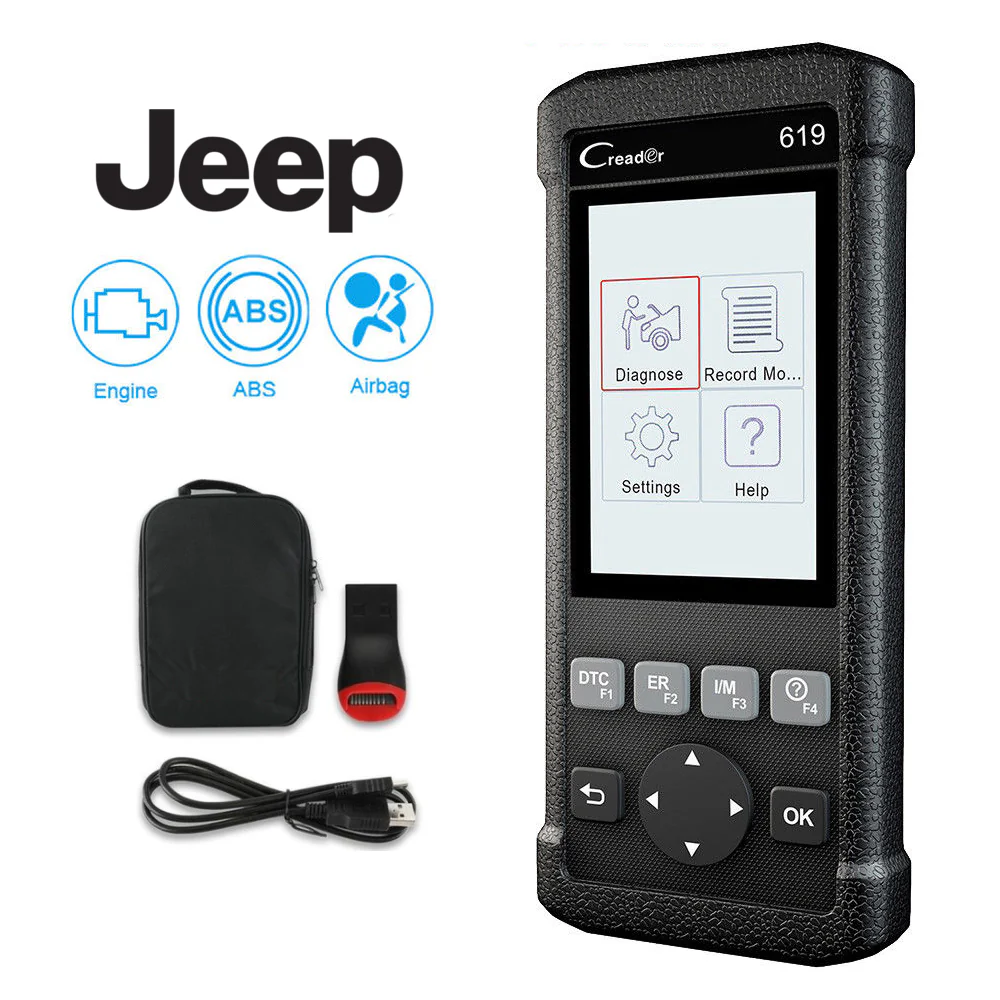
Begin by scanning all modules in your vehicle, not just the engine controller. A basic code reader may not suffice; you may need a more advanced diagnostic tool.

There can be two types of codes that you can see. Just look for the following codes:
- U1465: Implausible driver shift request signal received.
- P1C86-1D: PRNDL display circuit current out of range.
2. Accessing the Shifter Bezel
To access the shifter bezel, you will first need to remove a small plastic trim piece that obstructs it. Use your plastic trim removal tool to carefully pop this piece off.
You have to work around the edges gently to avoid damaging the surrounding areas. Once the trim piece is removed, you can start popping the shifter bezel loose.
This bezel snaps into place, so using your trim tool, carefully work your way around the edges until it becomes free.
If you’re concerned about scratching the console, consider applying tape around the edges. So there won’t be any scratch on your console and you can easily protect your console.
3. Disconnecting the Bezel
After lifting the shifter bezel, you will find several connectors that need to be disconnected:
- Electronic parking brake
- All-wheel drive selector
- USB and power outlets
You have to make sure that you keep track of these connectors as you remove them. You may need to rotate the bezel to access the USB ports effectively.
Remember to keep your foot on the brake while moving the shifter to create more space for this process.
4. Removing the PRDNL Assembly
With the bezel removed, the next step is to disconnect the PRDNL assembly from the shifter. Locate the connector for the jumper harness attached to the shifter.
It may be challenging to see, so rely on your sense of touch to find it. Once located, squeeze the lock and pull to disconnect.
Pay attention to the position of the connector, as this will guide you when reinstalling the new assembly. After disconnecting, you can remove the PRDNL assembly from its position.
5. Preparing the New Components
Before installation, unpack your new PRDNL bezel and jumper harness. Ensure that the connectors match the old ones, as there are variations in colors and designs.
The new assembly should be free from damage and ready for installation.
6. Installing the New PRDNL Bezel
Begin by connecting the jumper harness to the bottom of the shifter. This may take some patience, as you will be working by feel. Ensure that the lock clicks into place securely.

Next, install the new PRDNL bezel. It should snap into place without much effort. Ensure that all connectors are properly seated and that there are no loose wires.
7. Reassembling the Console
Once everything is connected, carefully reattach the shifter bezel trim piece. Make sure that all plastic snaps are secured, and the assembly is flush with the console.
Finally, double-check all connections for a secure fit.
Final Steps and Testing
After reassembling, it is mandatory to test the new installation very carefully. After that start your vehicle and check for any warning lights or messages on the dashboard.
Shift through all the gears to ensure that the PRNDL indicators function correctly.
If everything operates smoothly, congratulations! You have successfully replaced the PRDNL bezel on your Jeep Cherokee.
If you are still encountering any issues, recheck all your connections to make sure everything is seated correctly. If something is not seated correctly, correct it and check again.
Conclusion
Replacing the PRDNL bezel on a 2015-2018 Jeep Cherokee can be a straightforward process with the right tools and guidance.
By following this comprehensive guide, you can save on labor costs and gain a better understanding of your vehicle’s inner workings.
Regular maintenance and timely repairs will keep your Jeep running smoothly for years to come.
For further assistance or to support our channel, consider checking out our resources and links provided in the description.
Frequently Asked Question
What does it mean when Jeep says service shifter?
When your Jeep says “Service Shifter,” it means there’s a problem with the transmission shifter or its control system.
Check for physical issues with the shifter, inspect transmission fluid levels, and consider getting a diagnostic scan.
How many gears does a Jeep Cherokee have?
The Cherokee models from around 2014 to the present often come with a 9-speed automatic transmission. This transmission has 9 forward gears.
Is the Jeep Cherokee 4WD or AWD?
The Jeep Cherokee offers both all-wheel drive (AWD) and four-wheel drive (4WD) options. But it heavily depends on the trim and configuration.
- All-Wheel Drive (AWD): This system is designed for on-road use and provides added traction by automatically distributing power to the wheels that need it. It’s great for improving stability and handling in various driving conditions.
- Four-Wheel Drive (4WD): This system is more rugged and designed for off-road conditions. It allows drivers to manually engage or disengage the 4WD system and typically includes options like low-range gearing for more challenging terrain.
Are Jeep Cherokees V6 or v8?
The standard engine in Jeep Cherokees typically comes with V6 engines.
But it also comes with specific engine options that can vary depending on the model year and trim. For many recent models, the standard engine is a 3.6-liter V6.
There have been some versions with 4-cylinder engines, especially in the more recent years, and in the past. But V8s are not common in modern Cherokees.
How do I reset my Jeep transmission?
Resetting your Jeep transmission is a very easy and straightforward process. You need to do these steps as mentioned:
- Disconnect the battery
- Restart the battery
- Start the engine
- Drive the vehicle
- Check for updates or repairs
- Diagnostic Scan

